One of my most favorite successes as a lavender farmer last year was the propagation of 500 lavender starts to plant in our new field. In Part 1 of our propagation blog series we looked at what propagation is, and why you may want to propagate your lavender. In Part 2, I discussed when and how to take softwood cuttings and plant them so they properly root. Now it’s time for the final post, Part 3: Care and Transplanting!
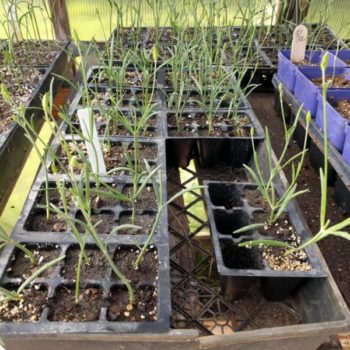
Your starts should be in their seed tray for approximately 4-6 weeks until you transplant them to larger pots.
When to Transplant
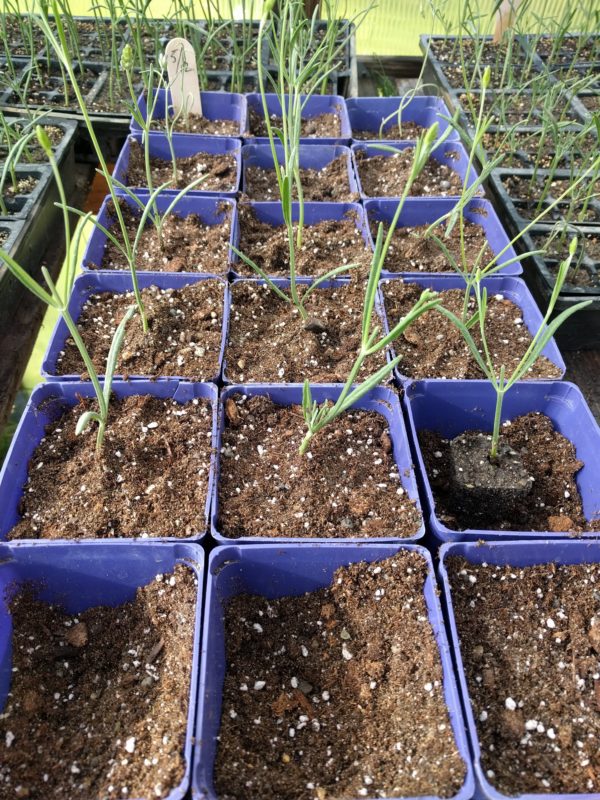
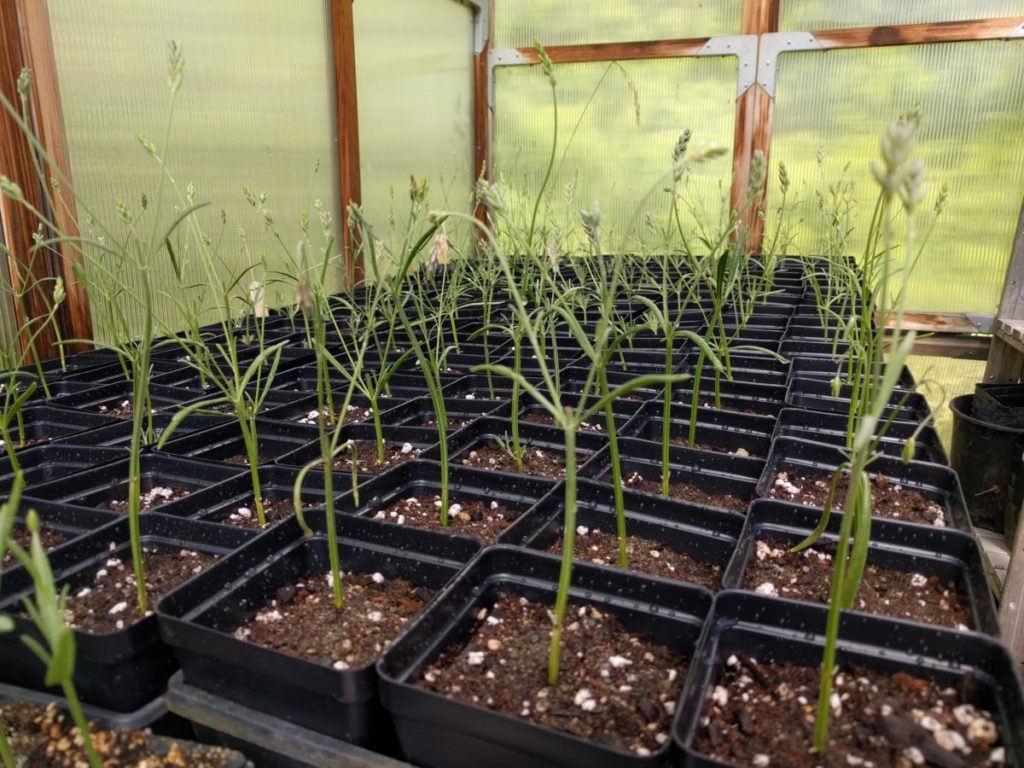
For the last month or so you have been watering your starts every day and making sure they’ve got plenty of sunlight. By four weeks, you should see some new growth on your cuttings. Ideally the start will start to show growth at the bottom of the stem (against the dirt), though you may also see new growth at the top, including buds. You will need to prune that new top growth later on to encourage the energy to go to the roots, but I prefer to leave it alone at this stage so as to not shock the start.
Once you’ve passed four weeks and you see solid evidence of new growth, test to see if your starts are ready to transplant into bigger pots. When the soil is dry (before your daily watering), select one stem and very gently tug on it. If there is resistance, then you’ve got roots! If it feels like the stem is pulling out, then stop. Leave your starts and test again in a week. Most starts are ready to transplant by six weeks at the latest. If you start noticing roots coming out the bottom of your seed plugs, then you definitely need to get the starts transplanted.
Prepare for Transplanting
Once your starts are ready to transplant, gather together a few items:
- 3” pots
- Potting soil
- Sand (construction grade is fine)
- Mixing container
- Spade/Spoon
- Lavender Starts

Prepare the Soil
Lavender loves really well drained, nutrient-deficient soil. Without proper drainage, your new starts will rot, so be sure not to use pure compost, or even regular potting soil, without amending it. We prefer mixing potting soil with sand (bulk bags of construction grade). If sand isn’t available, you can use perlite, or even fine gravel. Using whatever measuring receptacle you like (I often will use a 3” pot) mix 50% potting soil with 50% sand in your mixing container. Use your spade or spoon to mix it really well.
It’s best to do the next step before you water, when your starts have dry soil.
Transplanting Steps
- Pour or scoop the mixed soil into a 3” pot, filling the pot about halfway full.
- Next, tip the seedling tray on its side, and gently squeeze from the bottom to “pop” the plug out of the seed tray, while guiding the stem/plant out and providing support with your other fingers. Do not pull directly on the stem to get the plug out.
- Once you’ve got the plug out, place it in the center of the 3” pot, making sure that the top of your plug is about even with the top of the pot (so you don’t cover up any new growth at the base of the stem).
- Fill in around the rest of the seedling with your potting soil/sand mix, until the 3” pot is full and the start is secure and doesn’t tip.
- Water very well to allow air bubbles to escape, and add more of the soil mix if you need to.
- Repeat steps 1-5 for all of your starts.

Caring Tips
You’ll want to wait at least 4-6 weeks for your plants to develop a nice root system before you plant them outside.
- Once in 3” pots, you don’t need to water every day (since the pots will hold some water) but our 3” pot plants are very happy with regular every other day watering.
- A few days after transplanting into their pots, fertilize with some Vitamin B liquid fertilizer to stimulate root growth (young starts still in the seed plug trays are too tender to handle fertilizer – wait until they’re in the 3” pots to do this.)
- Be sure to keep warm, in direct sunlight. If you don’t have a greenhouse, a windowsill is fine.
- As soon as you see solid growth down around the base of the stem, prune back the original, tall stem to the soil line. This will leave you with very tiny “tufts” of green and may seem counter-intuitive because you’ve just cut off the big part of your plant. However, pruning the main stem will drive the plant’s energy back to its roots, which is what you want the plant to focus on right now (you don’t want the plant to be focused on making flowers). Your plants may be ready for their first haircut after several weeks in the pots, or they may not be ready until after you’ve planted them outside; just pay attention to when you’ve got good growth at the base.

Now that your starts have graduated to a 3” pot, they can live happily (with sunlight and water) in their pots for months. The majority of the starts we transplanted into 3” pots at the end of June 2018 were planted out in their forever homes about 2 months later. However, since we had more plants than we needed, we saved approximately 30 of them in the greenhouse all winter, and used those starts to replace the unlucky few that didn’t survive the winter outside. Those 30 plants had been in 3” pots for 7 months by the time we planted them out, and seemed perfectly content.
Conclusion
That’s it! After another month or so-or end of July/beginning of August, assuming you took your cuttings in May-you’ll have several new lavender plants at a fraction of the cost of buying them at a nursery (and absolute certainty that they’re the variety you are looking for.) You can plant them out in August/September depending on your hardiness zone, or if you’re concerned about them surviving the winter, wait until next spring. So long as you’ve got a temperate, sunny spot for them to hang out in, they’ll be fine in their pots until you’re ready to plant them outside!
9 Replies to “Lavender Propagation (Part 3): Care and Transplanting”
Lavender Care: When and where to plant? – Lavender Connection
[…] starts from your local nursery, or you tried your hand at propagating (read: parts one, two, and three of our Lavender Propagation blog series) you have new lavender starts that you’re ready to plant! […]
Dana LaPointe
Which liquid B fertilizer do you use?
Rebecca Olson[ Post Author ]
Honestly, we use whatever is on the shelf at the local nursery. I’ve also read a few scientific articles that say Vitamin B hasn’t been proven to actually help, though I *feel* like it helps. Maybe my wishing is making it so? I also have been reading up on the use of hydrogen peroxide to aid with root growth (this isn’t a vitamin/fertilizer, but the extra oxygen molecule is helpful for roots – this occurs naturally as H2O2 breaks down). The added benefit of using Hydrogen Peroxide is that it’s a natural fungicide, insecticide, etc. If you’re interested, you can find a lot of information about H202 on the internet!
Erin
Hi Rebecca, this is a great post- so informative! I’m wondering about overwintering in the greenhouse. How often do you water when the plants are dormant? Thanks! Erin
Rebecca Olson[ Post Author ]
Erin – I use the same test all year: I make sure the soil is dry down about 1/2″ before watering (and I always make sure the soil is well drained). In the winter the watering is less frequent because the air is colder and more moist, so it doesn’t evaporate as quickly. I probably water my cuttings every other day, 3″ pots 2-3 times a week, and my larger pots even less frequently. Also of note, I do keep the smaller lavender sitting on warm seed mats to help keep the roots warm when it gets really cold (though I don’t turn it up too high, since I want them to stay dormant) – just enough to give it a few degrees boost for those really chilly nights, so the roots don’t freeze. This isn’t an issue for the larger pots that have more soil acting as insulation from the edge of the pot – just the cuttings and 3″ pots. Hope that helps!
Erin
Super helpful!! Thank you!!
Lavender Care: When and where to plant? - Lavender Connection
[…] starts from your local nursery, or you tried your hand at propagating (read: parts one, two, and three of our Lavender Propagation blog series) you have new lavender starts that you’re ready to plant! […]
Lydia
Hi,
I propagated when I pruned last fall. Only one survived and it’s gotten to be a good size now. My question is if it would be better to keep in a pot this first summer or if it is okay to plant outside with its mom.
Thanks
Rebecca Olson
Great question! You can definitely plant it outside this spring, once you’re past the danger of frost. Be sure that the soil is well drained and it’s in a good sunny spot with plenty of room to grow! And remember – baby lavenders do need to be watered more regularly than mature lavender, so keep an eye on it and water in the heat of the summer (stick your finger into the soil and if its dry more than an inch down, give it a good soak.) We usually water young lavender every 3-4 days in the ground, except for prolonged heat waves when we may bump it up to every other day. Once the baby plant is 3 years old the roots should be established enough that you only need to water regularly during long periods of really hot, dry weather. Good luck!